Get Started
Preparation
Create a private Notion integration
An integration is needed to read data from your Notion. You can create one for internal use at https://www.notion.so/my-integrations/.
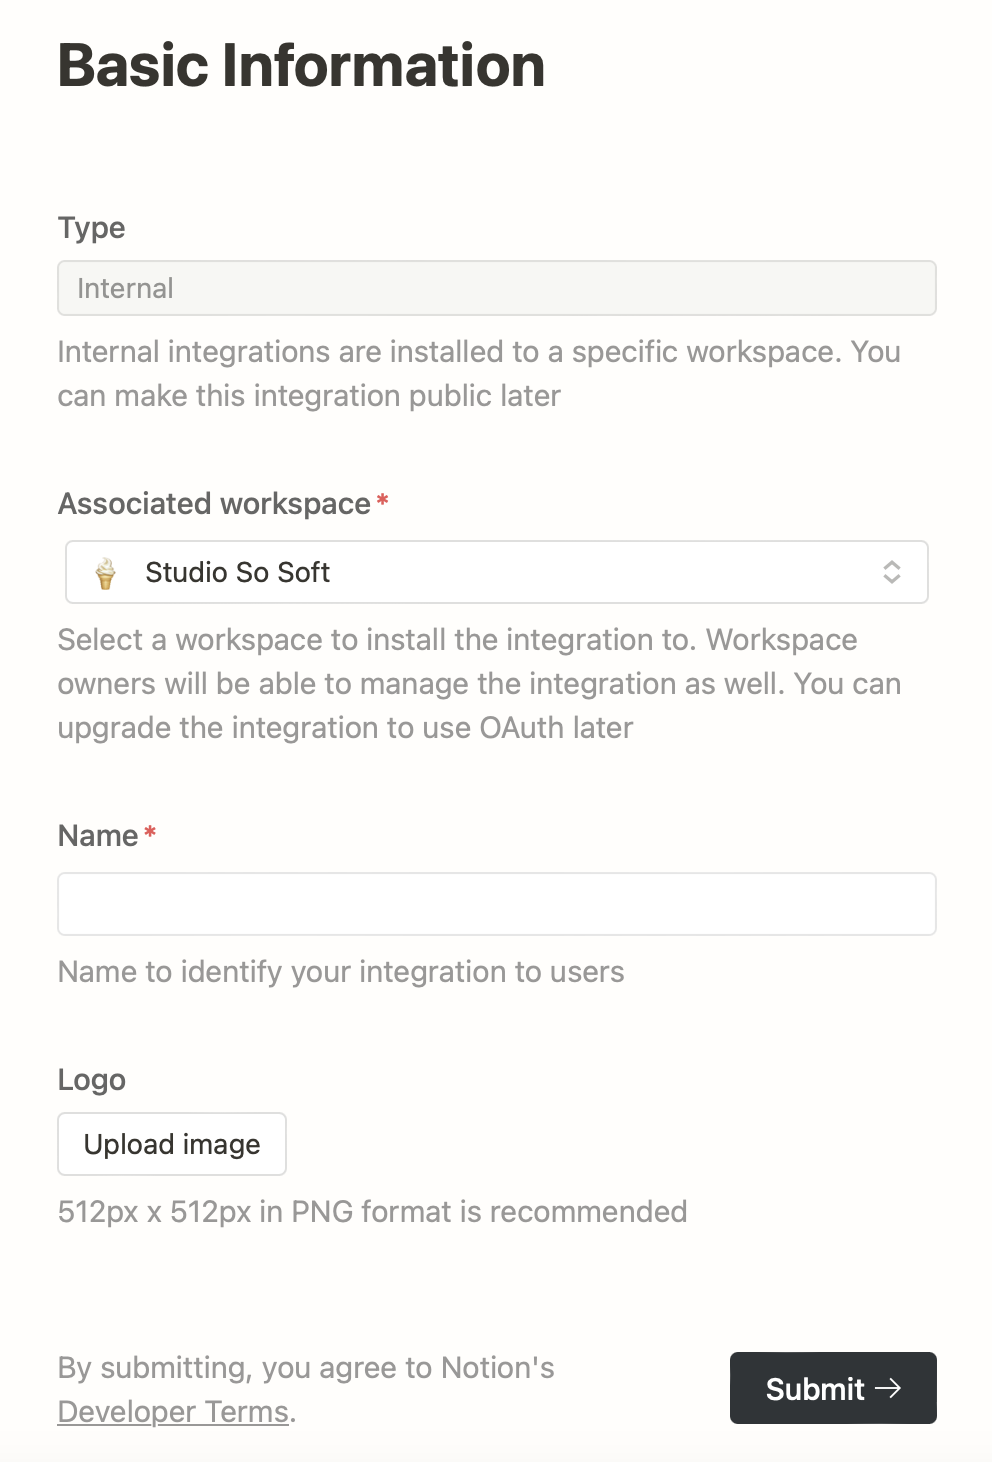
In Associated workspace, select the one that contains the content to be published. Name and Logo can be anything easy to remember.
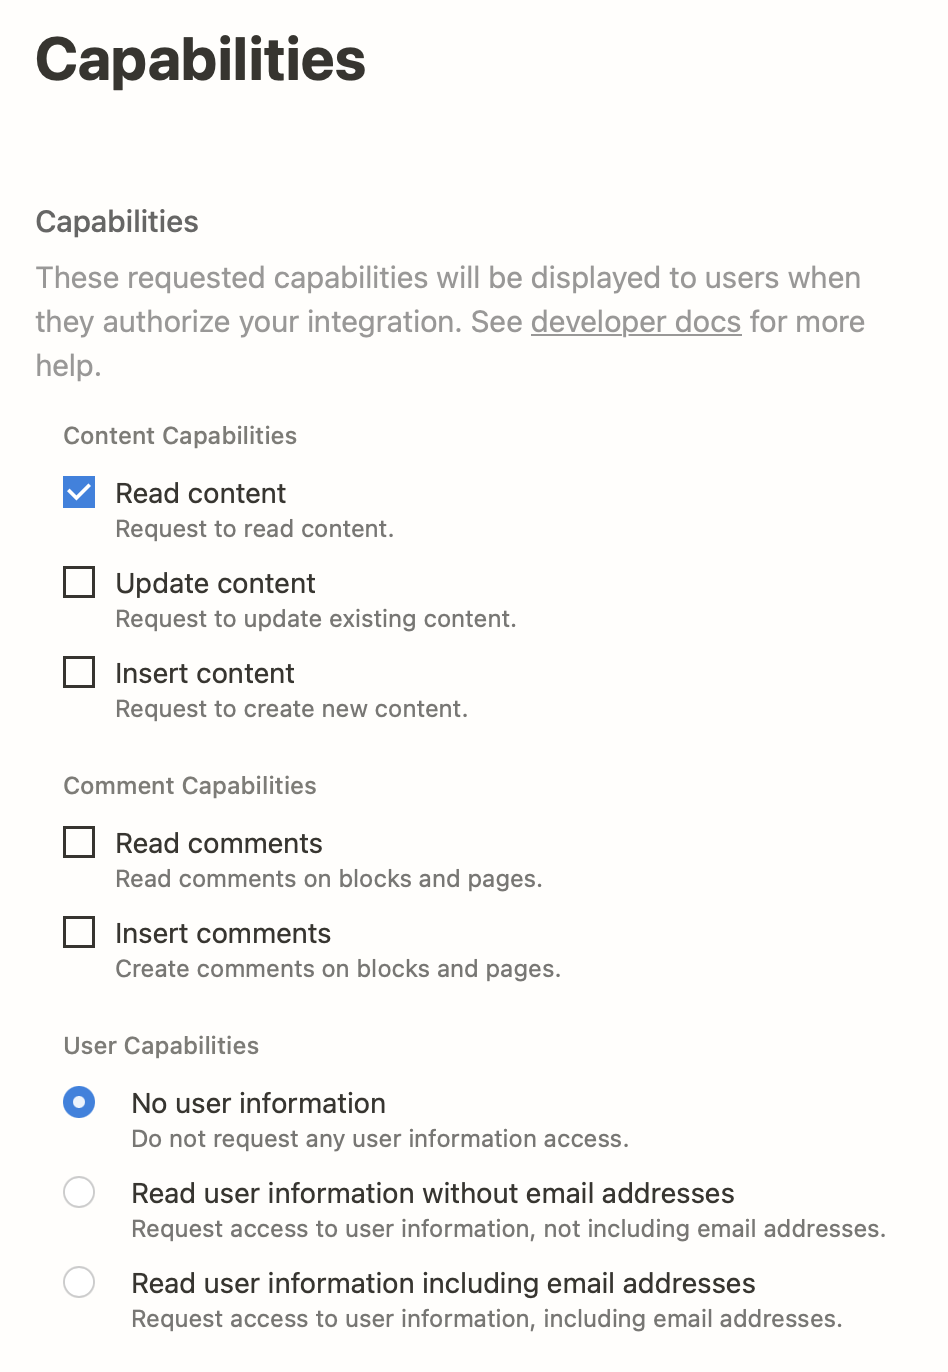
After creating the integration, find the Capabilities page, give the integration minimum capabilities for security. Since we are only pulling data from Notion, only Read Content is needed. It is recommended to allow no user information as well (any user mentions will be anonymous).
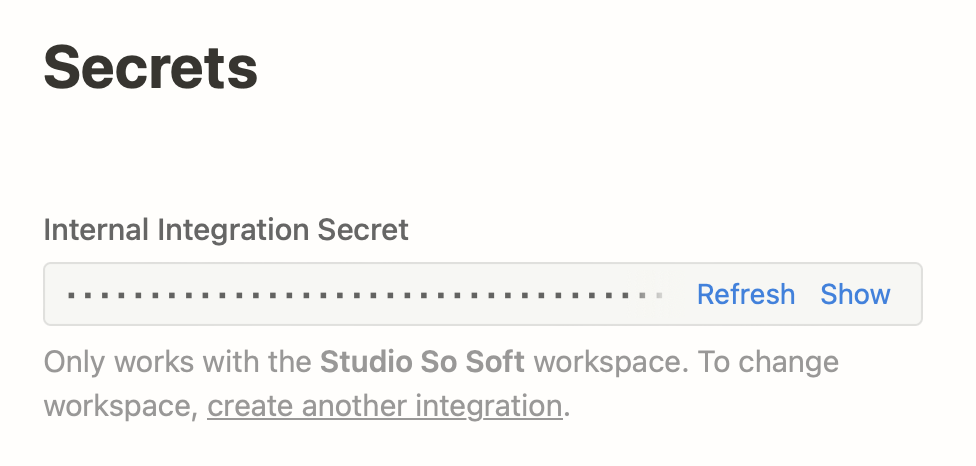
Finally, find the Internal Integration Secret and keep the tab open. We will need to copy this secret into the project later.
Add Connection on the Page in Notion
Find the page to be published in Notion. Click the three-dot button on the top-right, scroll to the bottom to find the Connections section. In the Connect to item, find the integration you just created.
Once the connection is created, all the child pages of the page will be readable with the integration. In other words, the connection should not be made on pages that contains child pages that should not be published!
Using Nostagik
In this guide we will go through the step of setting Nostagik up within an existing Next.js project with TypeScript and TailwindCSS. To start a Next.js project, please refer to the official guide.
Installation
npm install @nostagik/core @nostagik/react
Add the Secret
Copy the Internal Integration Secret and paste it in the .env.local file and set as environment variable named NOTION_TOKEN.
NOTION_TOKEN=secret_xxxxxxxxxxIn a Next.js project, it is how environment variables are supplied in development mode. The .env.local file should, by default, be ignored by git and not uploaded nor revealed to the public.
If a separated CI/CD is used, the secret should also be added there.
Setup Nostagik with Next.js App Router
This section documents the setup used in the official Nostagik site (what you are reading), the code of the setup can also be found on GitHub.
Configure Tailwind
Configure tailwind to preserve the class names used in the default config.
// tailwind.config.ts

import type { Config } from "tailwindcss";
import configForNostagik from "@nostagik/core/tailwind-preset";

const config: Config = {
  presets: [configForNostagik],
  content: [
    "./src/pages/**/*.{js,ts,jsx,tsx,mdx}",
    "./src/components/**/*.{js,ts,jsx,tsx,mdx}",
    "./src/app/**/*.{js,ts,jsx,tsx,mdx}",
    "./src/lib/**/*.{js,ts,jsx,tsx,mdx}",
    ...configForNostagik.content,
  ],
};

export default config;
Create a config file
The config file is needed for Nostagik to look up the pages, download them, and render the content.
Create a nostagikConfig.ts with the following content:
import { createNostagikConfig } from '@nostagik/core';

const nostagikConfig = createNostagikConfig({
  pages: [{ id: 'THE_ID_OF_THE_PAGE', path: '/' }],
});

export default nostagikConfig;The way to find the page id can be found in Notion’s Developer Documentation.
It is not necessary to list child pages, as child pages can be discovered from its parents automatically. You can just list pages that you’ve manually added the internal integration connection in the Preparation step.
Customization is also made in the same configuration file, more on that later.
Create getData file
Create a file that imports getAllPages and getNotionPage from @nostagik/core. Pass the nostagikConfig to getAllPages so the data can be fetched efficiently.
import 'server-only'; // make sure this is not leaking to client-side.
import {
  GetNotionPageOption,
  getAllPages as getAll,
  getNotionPage as getOne,
} from '@nostagik/core';
import nostagikConfig from './nostagikConfig';

const option: Partial<GetNotionPageOption> = {
  notionClientAuthToken: process.env['NOTION_TOKEN'],
  localDataMinimumValidTime: 60, // in seconds
};

export const getAllPages = () => getAll(nostagikConfig, option);

export const getNotionPage = (id: string) => getOne(id, option);Setup pages
Now, we can use the page renderer component to setup a page.tsx in Next.js’s app router.
The following example is for the home page, or any pages that has a known page id.
// src/app/page.tsx

import { DefaultPageRenderer } from '@nostagik/react/src/page';
import { notFound } from 'next/navigation';
import { getNotionPage } from '../notion/getData';
import nostagikConfig from '../notion/nostagikConfig';

export default async function Home() {
  const props = await getNotionPage('YOUR_PAGE_ID_HERE');
  if (props === null) notFound();
  return <DefaultPageRenderer nostagikConfig={nostagikConfig} {...props} />;
}
Also setup a dynamic route to generate routes for the child pages:
// src/app/[slug]/page.tsx

import { type NotionPageData } from '@nostagik/core';
import { DefaultPageRenderer } from '@nostagik/react/src/page';
import { notFound, redirect } from 'next/navigation';
import { getAllPages, getNotionPage } from '../../notion/getData';
import nostagikConfig from '../../notion/nostagikConfig';

type Props = { params: { slug: string } };

export default async function Page({ params: { slug } }: Props) {
  const pages = await getAllPages();
  let pageId;
  pages.forEach(function (pair) {
    if (slug === pair.id) {
      return redirect(`/${pair.slug}`);
    } else if (slug === pair.slug) {
      pageId = pair.id;
    }
  });
  if (!pageId) notFound();
  //
  const props = await getNotionPage(pageId);
  if (props === null) notFound();
  return (
    <DefaultPageRenderer
      {...props}
      nostagikConfig={nostagikConfig}
      slotBeforePageTitle={
        <nav className="mt-8 -mb-4">
          <a className={nostagikConfig.notionBlockClasses['link']} href="/">
            back to home
          </a>
        </nav>
      }
    />
  );
}

export async function generateStaticParams() {
  const pages = await getAllPages();
  return pages.filter((p) => p.path !== '/').map(({ slug }) => ({ slug }));
}

export async function generateMetadata({ params: { slug } }: Props) {
  const pages = await getAllPages();
  let pageId;
  pages.forEach(function (pair) {
    if (slug === pair.id || slug === pair.slug) {
      pageId = pair.id;
    }
  });
  if (!pageId) notFound();
  const { title } = (await getNotionPage(pageId)) as NotionPageData;
  return { title };
}
Optional: configure git to Ignore Cached Data
By default, Nostagik pulls block data and images from Notion and store it in the following locations:
- Page and block data:
./src/data - Images:
./public/cached-images
Add these two paths to the .gitignore file
src/data
public/cached-images
Customization
Configure data paths
The paths of the cached files can be changed by passing it as options to both getNotionPage and getAllPages.
import nostagikConfig from "./nostagikConfig"

const option = {
  notionClientAuthToken: process.env['NOTION_TOKEN'],
  paths: {
    data: "./src/data",
    image: "./public/cached-images",
    imagePublicPath: "./cached-images",
  }
}

export const getAllPages = () => getAllPages(nostagikConfig, option);
export const getOnePage = (id) => getNotionPage(id, option);
Styling the blocks
in the nostagikConfig.ts file, you can use notionBlockClasses to add additional styles for each type of blocks. For customizing the styling of text annotations (like this), use notionAnnotationsClasses.
const config = createNostagikConfig({
  notionBlockClasses: {
    paragraph: 'text-sm',
  },
  notionAnnotationsClasses: {
    color: {
      brown_background: 'bg-brown-100',
    }
  },
});
By default, the blocks are set with utility classes from Tailwind. The default can be found on GitHub. Each key in notionBlockClasses and notionAnnotationsClasses of the default config is a valid block type.
The default renderers also add unique classes to each block type and annotation. For example, a paragraph block can be selected with .nk-paragraph. A piece of bold text can be selected with .nk-text-bold . The prefix can be changed by setting classPrefix in the config file.
const config = createNostagikConfig({ classPrefix: "nk-" })classPrefix will not affect be added to the classes stated in notionBlockClasses and notionAnnotationClasses.
Styling without TailwindCSS
It is possible to stop using TailwindCSS. By setting notionBlockClasses and notionAnnotationClasses to null, the additional class names will not be added to the blocks.
const config = createNostagikConfig({
  notionBlockClasses: null,
  notionAnnotationsClasses: null,
});
With this configuration. The blocks can be styled with a CSS file with selectors like .nk-column, .nk-numbered-list-item.
Changing when an image is a full-width image
The public Notion API does not return some layout information used in Notion. With the default styling and the default page renderer from @nostagik/react, fullWidthImageCondition is used to determine when to layout an image block as a full-width block.
const config = createNostagikConfig({
	fullWidthImageCondition(block) {
    const { width = 0, height = 0 } = block.image.dimensions;
    return width / height > 2.25;
  },
});
The heuristic above checks the ratio of the image (if available) and decide if it is a panorama-like image and set it to be full-width when the ratio is more than 2.25. (a bit over 20:9)
Fully customized block renderers
With the DefaultPageRenderer from @nostagik/react, it is possible to replace or add completely new block renderers.
const config = createNostagikConfig({
  blockRenderers: {
    paragraph(block) { /* ... */ }
  },
});
Refer to the source of @nostagik/react to see how a renderer is written.